
Account security
Account “Settings” control how you sign in: the password, the code from an authenticator app and the list of addresses you are allowed to sign in from. Open them from the menu under your avatar, item “Settings”.
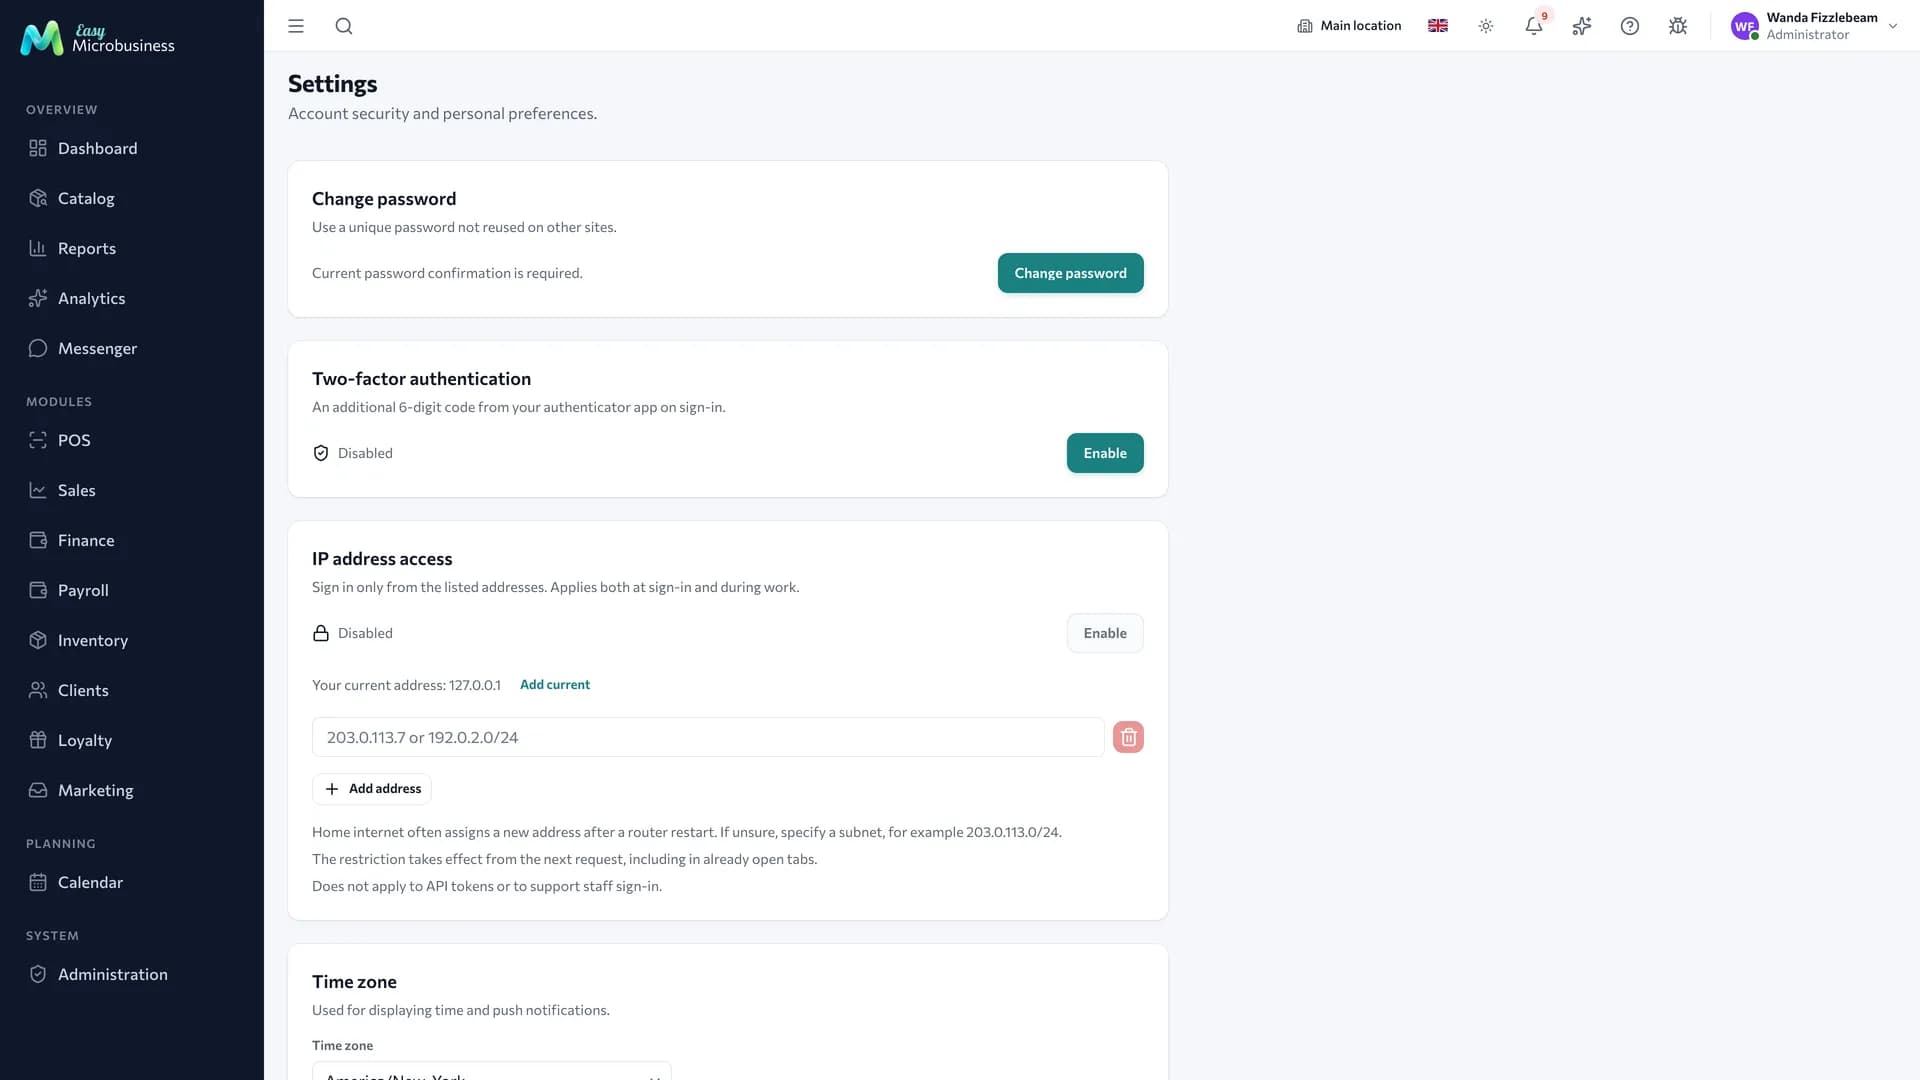
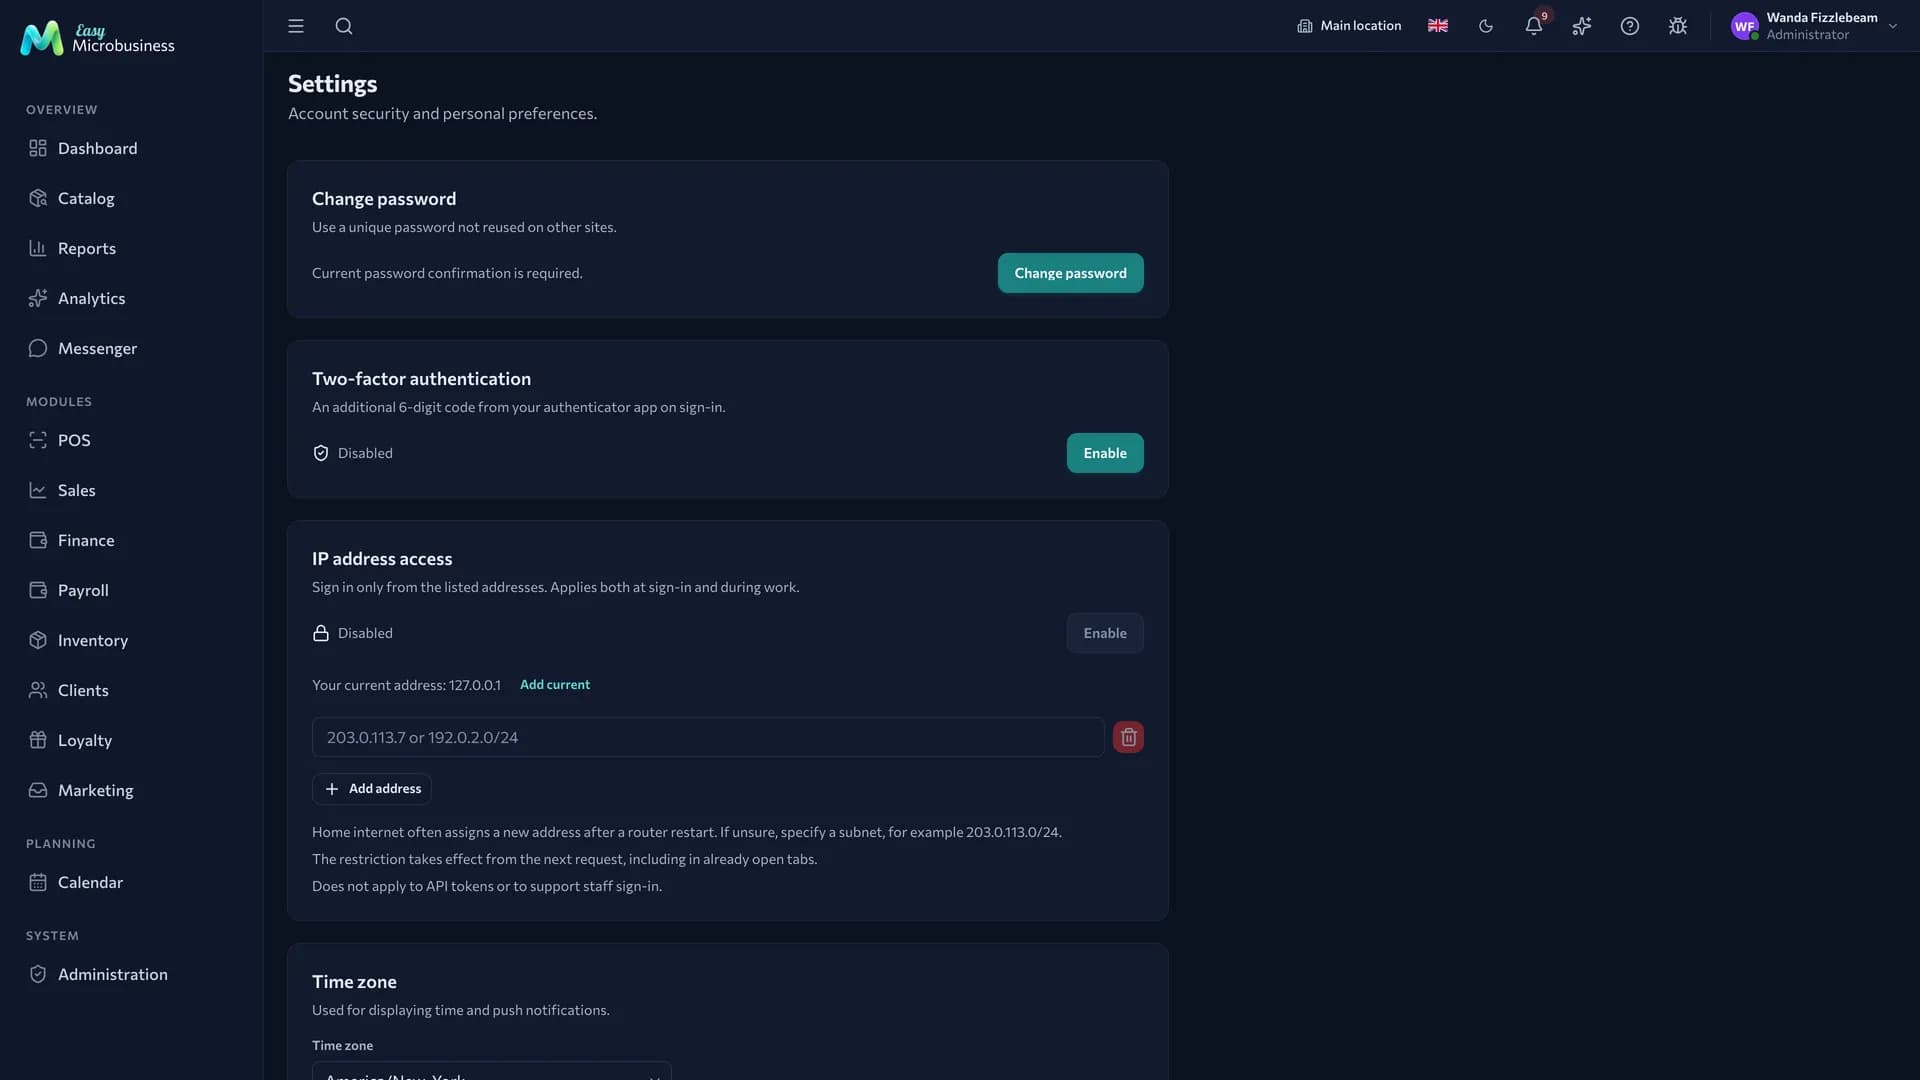
These settings are personal. They apply to your own account, not to the whole company: every employee sets them up for themselves.
What is here
| Card | What it is for |
|---|---|
| Change password | Replace the password, confirming the current one |
| Two-factor authentication | Ask for a 6-digit code from an app on sign-in |
| IP address access | Allow sign-in only from the listed addresses |
| Time zone | Personal time on top of the company time zone |
How to change the password
- Open “Settings”.
- Click “Change password”.
- Enter the current password, then the new one and its repeat. Minimum 8 characters.
- Click “Save”.
Only you know the password: the administrator cannot see it. If you forgot it, restore it from the link on the sign-in page.
How to enable the second factor
- In the “Two-factor authentication” card click “Enable”.
- Scan the QR code with an authenticator app: Google Authenticator, Yandex Key or another one.
- Enter the 6-digit code from the app and click “Confirm”.
On the next sign-in the system asks for the code after the password. It is turned off with “Disable” and a confirmation by the current password. The owner and everyone who works with money should keep the second factor on.
How to restrict sign-in by IP address
The “IP address access” card lets you into your account only from the listed addresses. This helps when you work from an office with a fixed address: a guessed or peeked password is useless to someone sitting in another network.
To turn the restriction on:
- Open “Settings” and find the “IP address access” card.
- Click “Add current” — your address is filled in for you.
- Add the remaining addresses with “Add address”.
- Click “Enable” and confirm.
The list can be edited at any time: change the rows and click “Save list”. The “Disable” button lifts the restriction and keeps the list, so you can switch it back on with a single click.
What to put in a row
| Entry | What it allows |
|---|---|
203.0.113.7 | A single address |
192.0.2.0/24 | A subnet: addresses from 192.0.2.0 to 192.0.2.255 |
2001:db8::1 | A single IPv6 address |
2001:db8::/32 | An IPv6 subnet |
The list holds up to 20 entries. An address is stored in a common form: 203.0.113.7 becomes 203.0.113.7/32, and 192.0.2.7/24 becomes 192.0.2.0/24. Identical entries collapse into one.
For example, in a three-person repair shop the administrator works from the floor only and enters the office address 203.0.113.7. The owner also signs in from home, so they add a second row with the home provider subnet 198.51.100.0/24.
Home internet usually hands out a new address after a router restart. Enter a subnet rather than a single address:
198.51.100.0/24survives an address change inside it.
What changes once it is on
- The restriction applies from the next request, including tabs already open on other devices.
- The check runs both on sign-in and during work: an open session does not help from an outside address.
- External API tokens are not affected — integrations keep working.
- Sign-in by Easy Microbusiness support staff into your account stays available as well.
The restriction turns on when the list holds at least one address and your current address is among them. While your current address is missing, the card warns about it and the restriction stays off.
What to do if sign-in is closed from your address
Enter your email and password as usual. Instead of signing in you will see the message “Sign-in from this IP address is blocked by your account settings”. From here there are two ways out.
A link by email. Click “Send a link to remove the restriction” under the message. The letter arrives at the account email; it names the address and the city the request came from, so you can tell your own request from someone else's. The “Remove restriction” button in the letter opens a confirmation page, and after it sign-in works from any address again. The link is valid for 1 hour and can be requested three times per hour.
Help from the owner. The owner opens “Administration → Users”, finds the employee and picks “Remove IP restriction” in their row. The action is available to the company owner only and lands in the audit log as “IP restriction removed”.
In both cases the address list is kept. After the restriction is removed, open “Settings”, add the address or subnet you work from now and switch the restriction back on.
In short
- Account “Settings” are personal: password, second factor, address list and time zone are set by each employee.
- The password is changed with the current one confirmed, minimum 8 characters; the administrator never sees it.
- IP address access accepts single addresses and subnets, up to 20 entries, IPv4 and IPv6.
- The restriction can only be enabled while your current address is in the list.
- Locked out — ask for the link by email from the sign-in page, or ask the company owner to remove the restriction.
Related
- Users and invitations — how the owner removes an employee restriction and closes access.
- Roles and permissions — what an employee sees and can do inside the company.
- Audit log — who changed access and when.