
First steps
The company exists — now fill it in. The order below is proven in practice: after the third step you can already take money.
Step 1. Check your branches
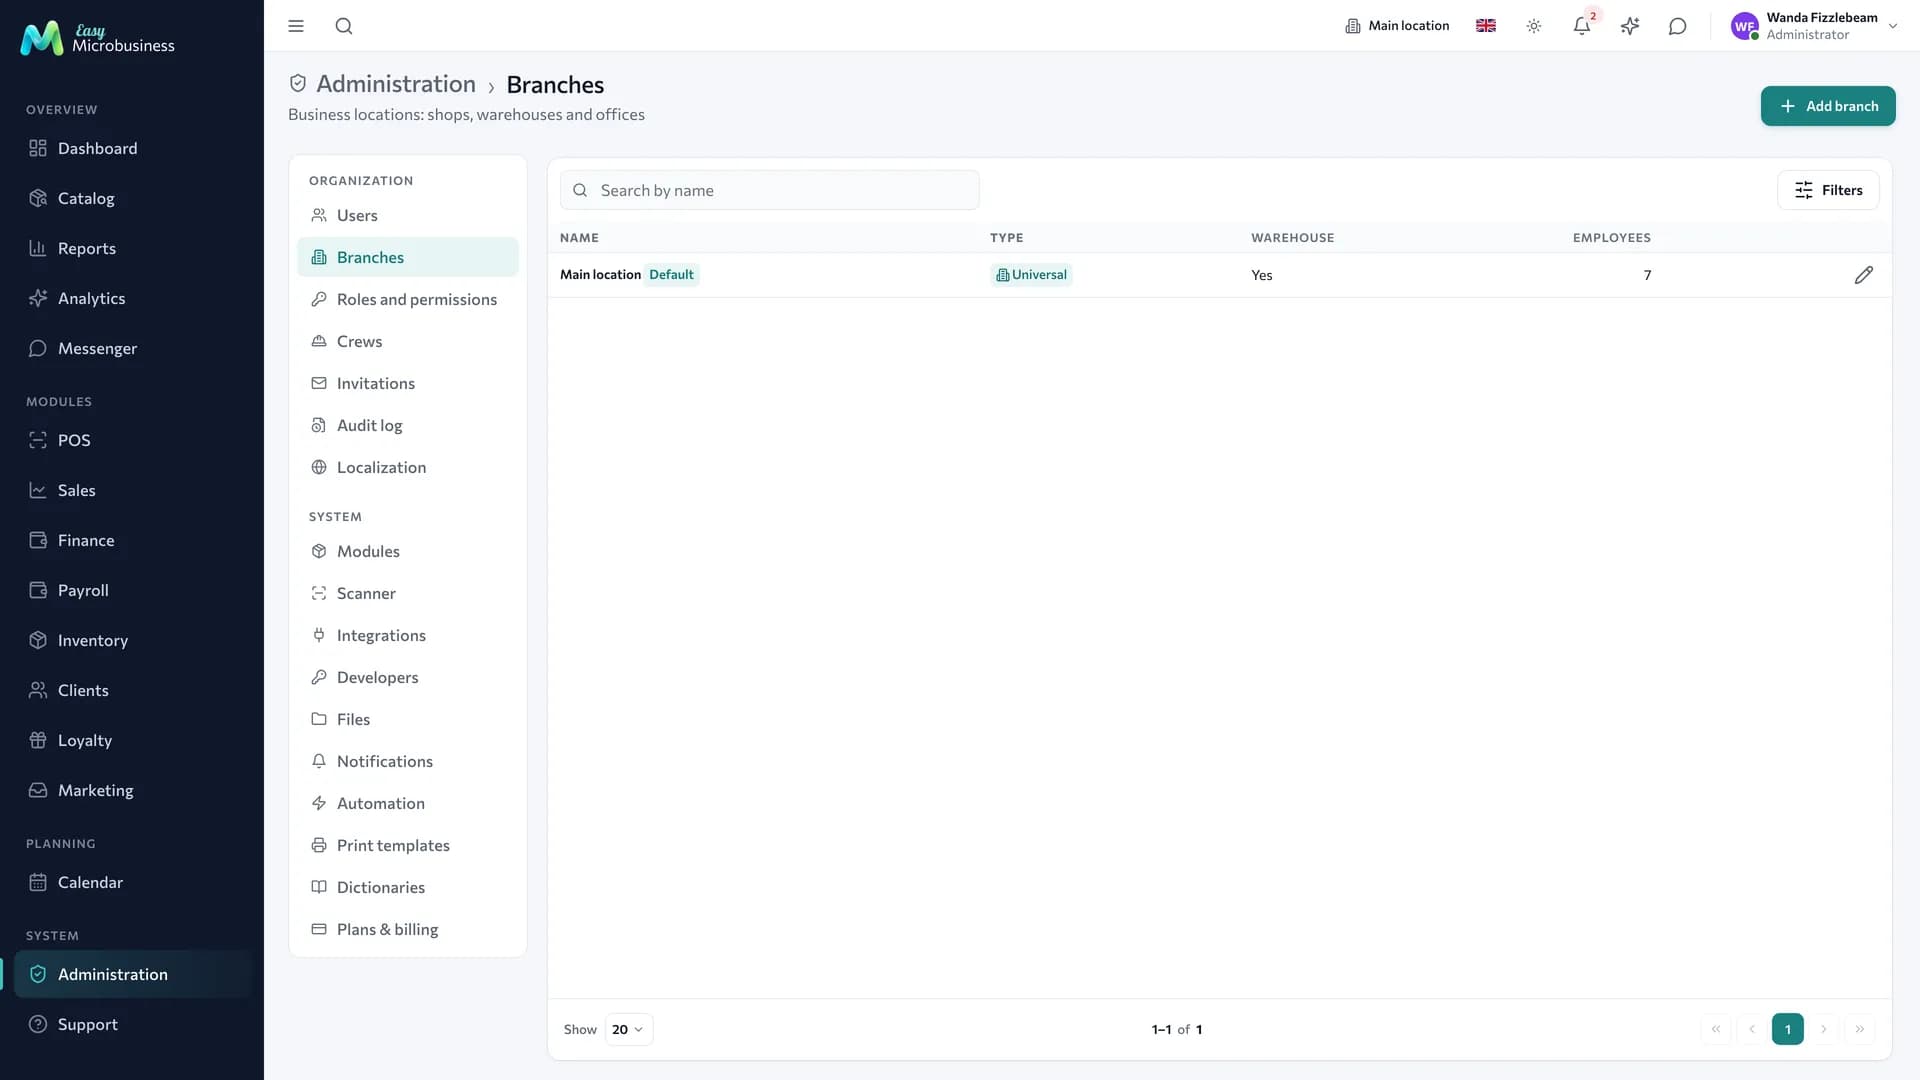
A branch is a place where work happens: a salon, a workshop, a warehouse, a coffee shop. Stock, cash shifts, staff schedules and customer bookings are all tied to a branch.
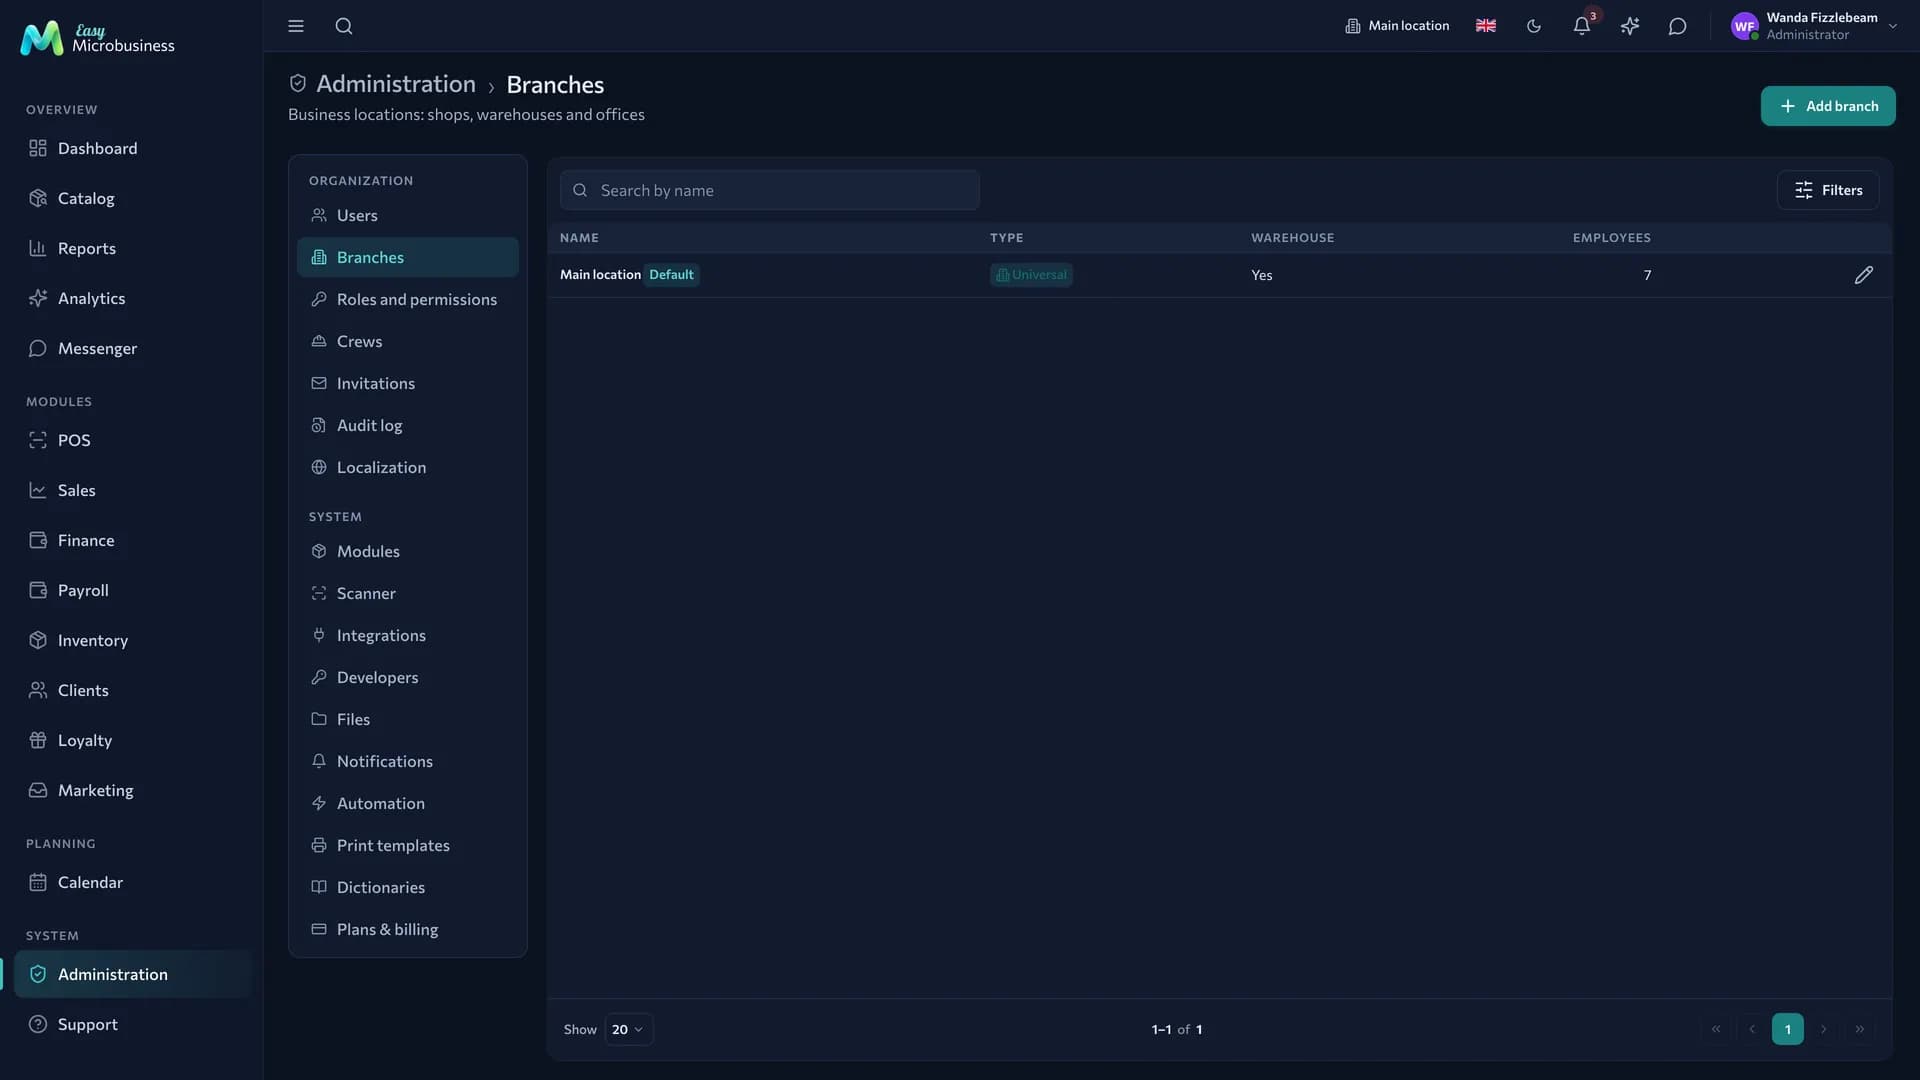
The wizard creates one branch automatically. If you have several locations, add the rest right away in Administration → Branches, so that documents land in the right place from day one.
Step 2. Fill in the catalog
The catalog is the shared reference of what you sell. POS, orders, inventory, bookings and reports all point at it.
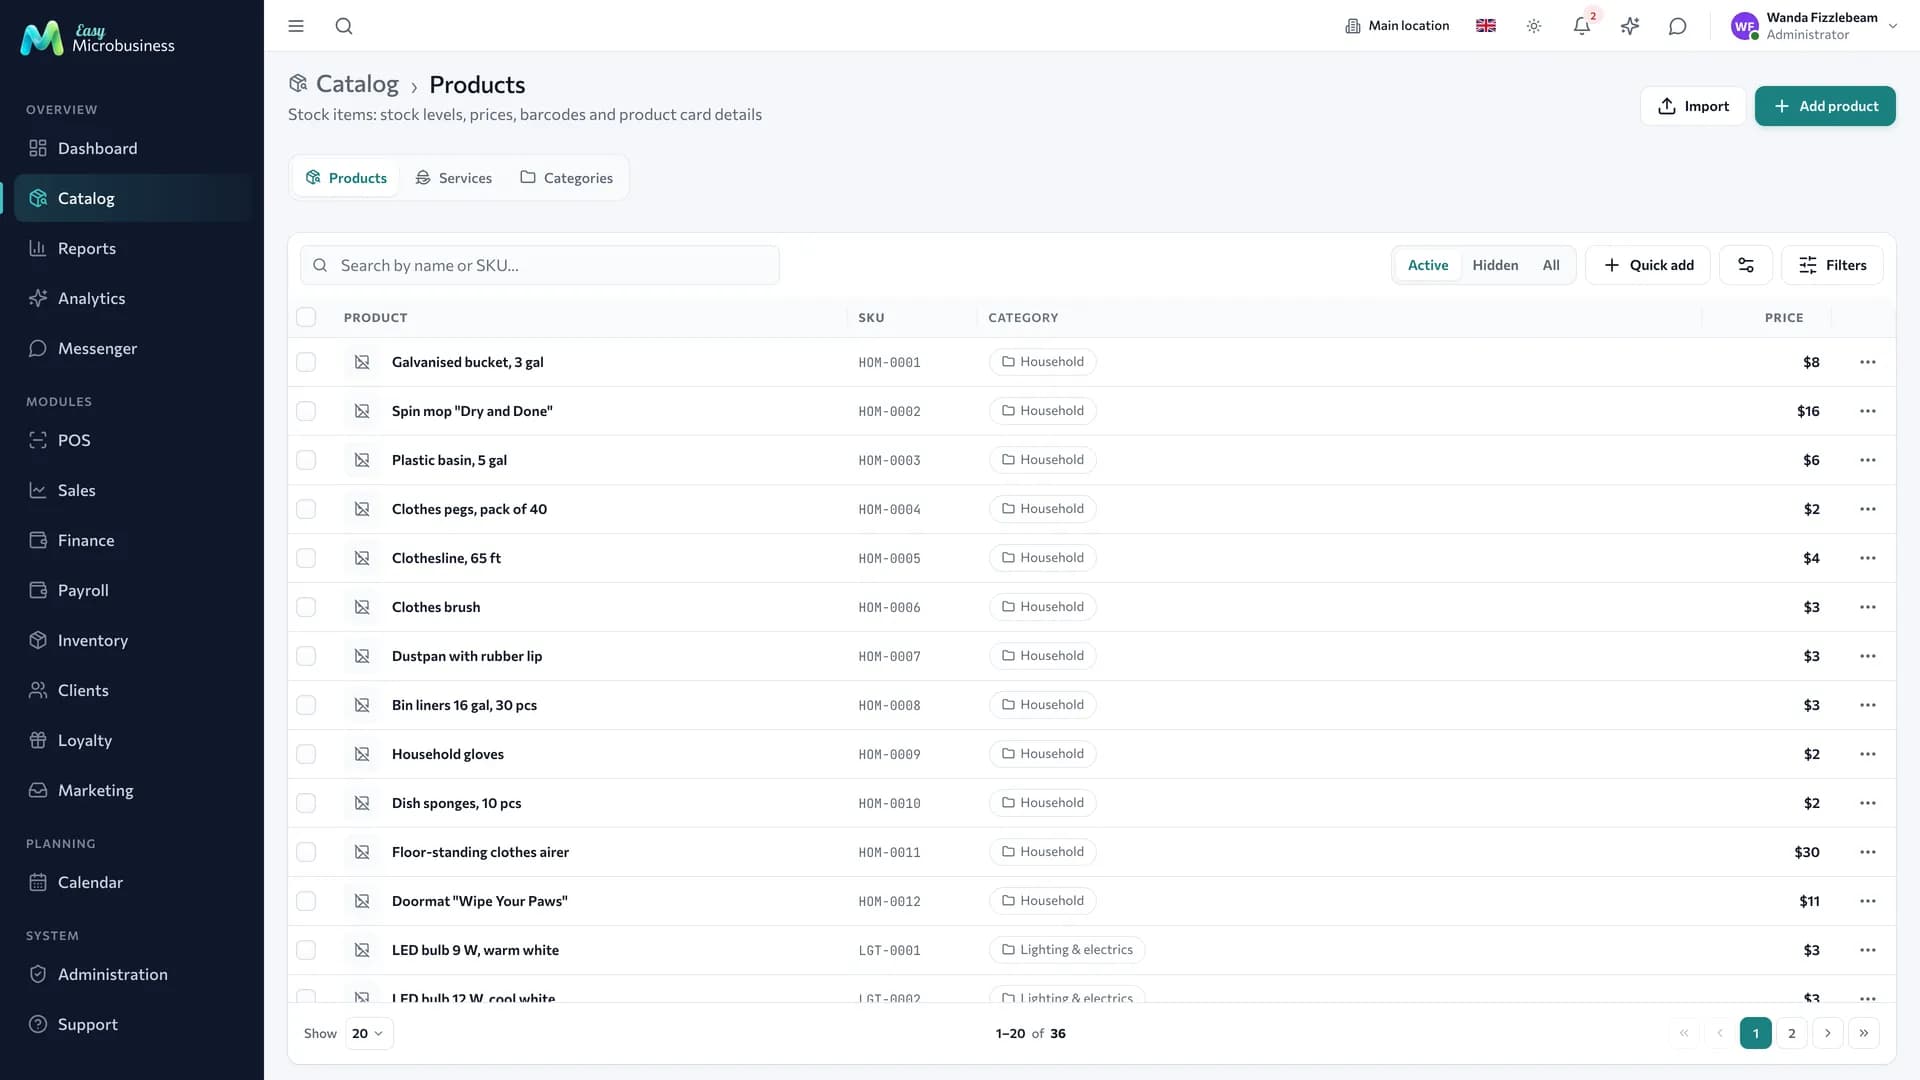

Fill it in this order:
- Categories. Catalog → Categories, 5–10 top-level groups. In a coffee shop that could be coffee, tea, desserts, pastry, beans to go. The hierarchy helps both at the POS and in reports.
- Services. These take minutes: name, price, duration. The calendar picks up the duration.
- Products. Name, category, sale price, unit of measure, plus a barcode and a purchase price where needed.
- Variants. If an item differs by size or colour, add variants: stock and price are counted for each one.
Items are removed softly: the card disappears from selection and stays in sales history and past reports. More detail is in Catalog.
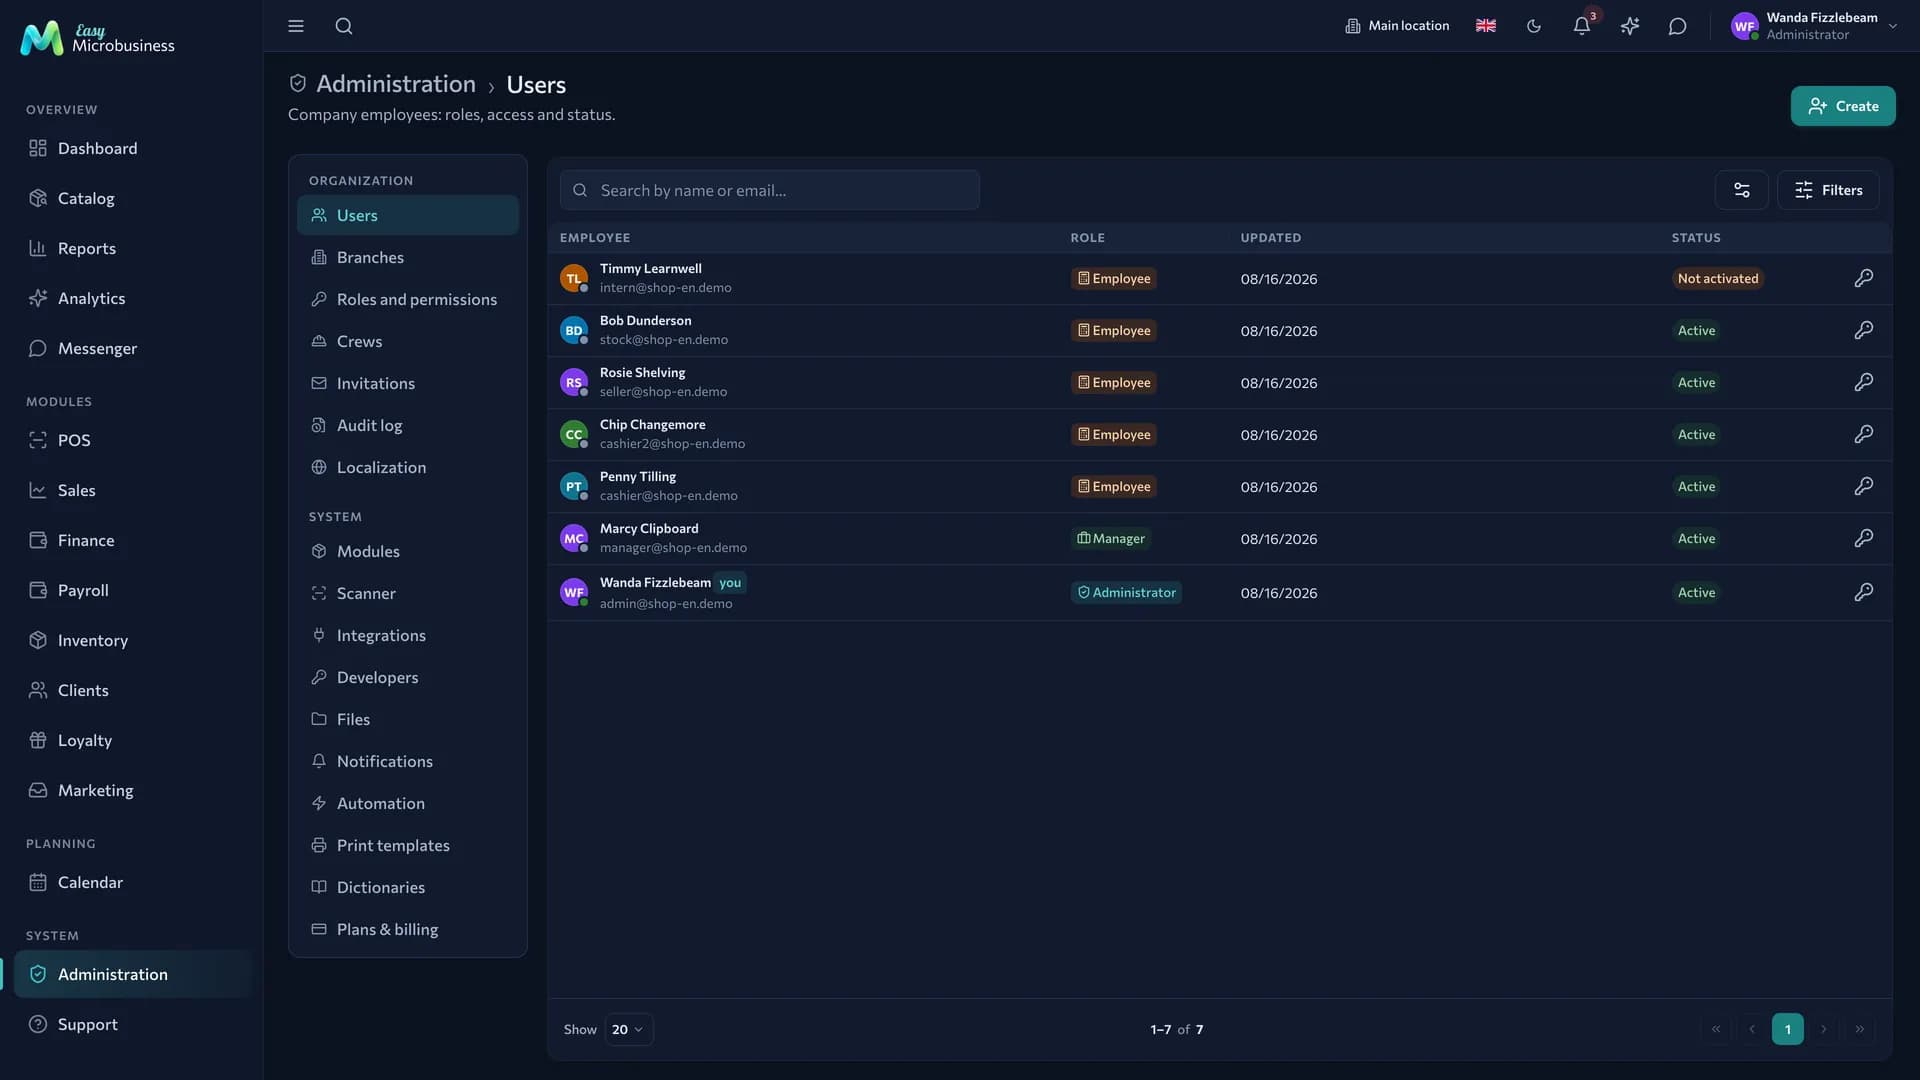
Step 3. Invite the team and set permissions
- Open Administration → Invitations.
- Press Invite employee and enter the email and the role.
- The person receives a letter and sets their own password.
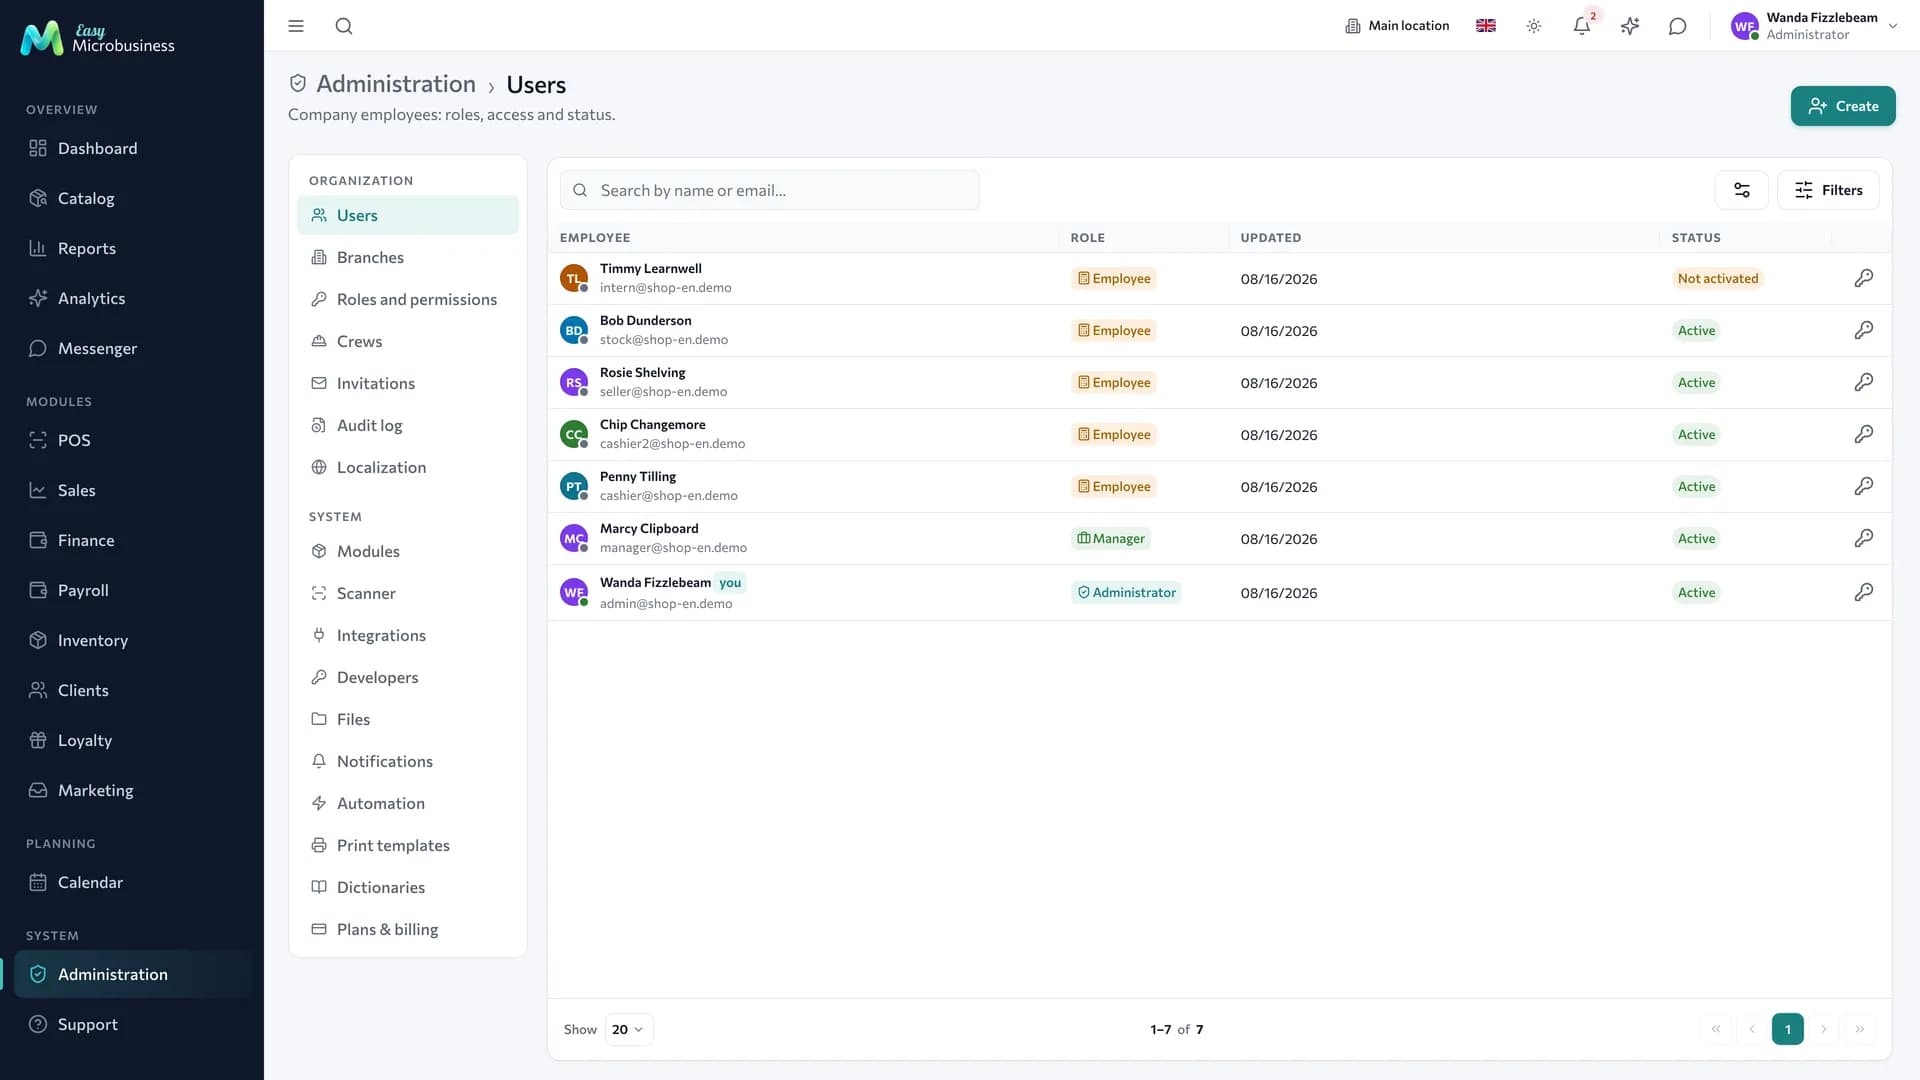
If an employee has no email, add them with a password in Administration → Users.
The role defines what a person sees:
| Role | Who it fits | What they see |
|---|---|---|
| Administrator | Owner, general manager | Everything, including settings, money and permissions |
| Director | Owner outside daily operations | Every working section, including finance, payroll and the storefront |
| Manager | Shift lead, location manager | Working sections and finance, except payroll and the storefront |
| Employee | Master, cashier, courier | Their own work: POS, orders, deals, bookings, field jobs, rentals, calendar |
Exceptions are set per person: the Permissions action in their row in Users opens a table where "View", "Edit" and "Delete" are ticked per component. More detail is in Roles and permissions.
Step 4. Make the first sale
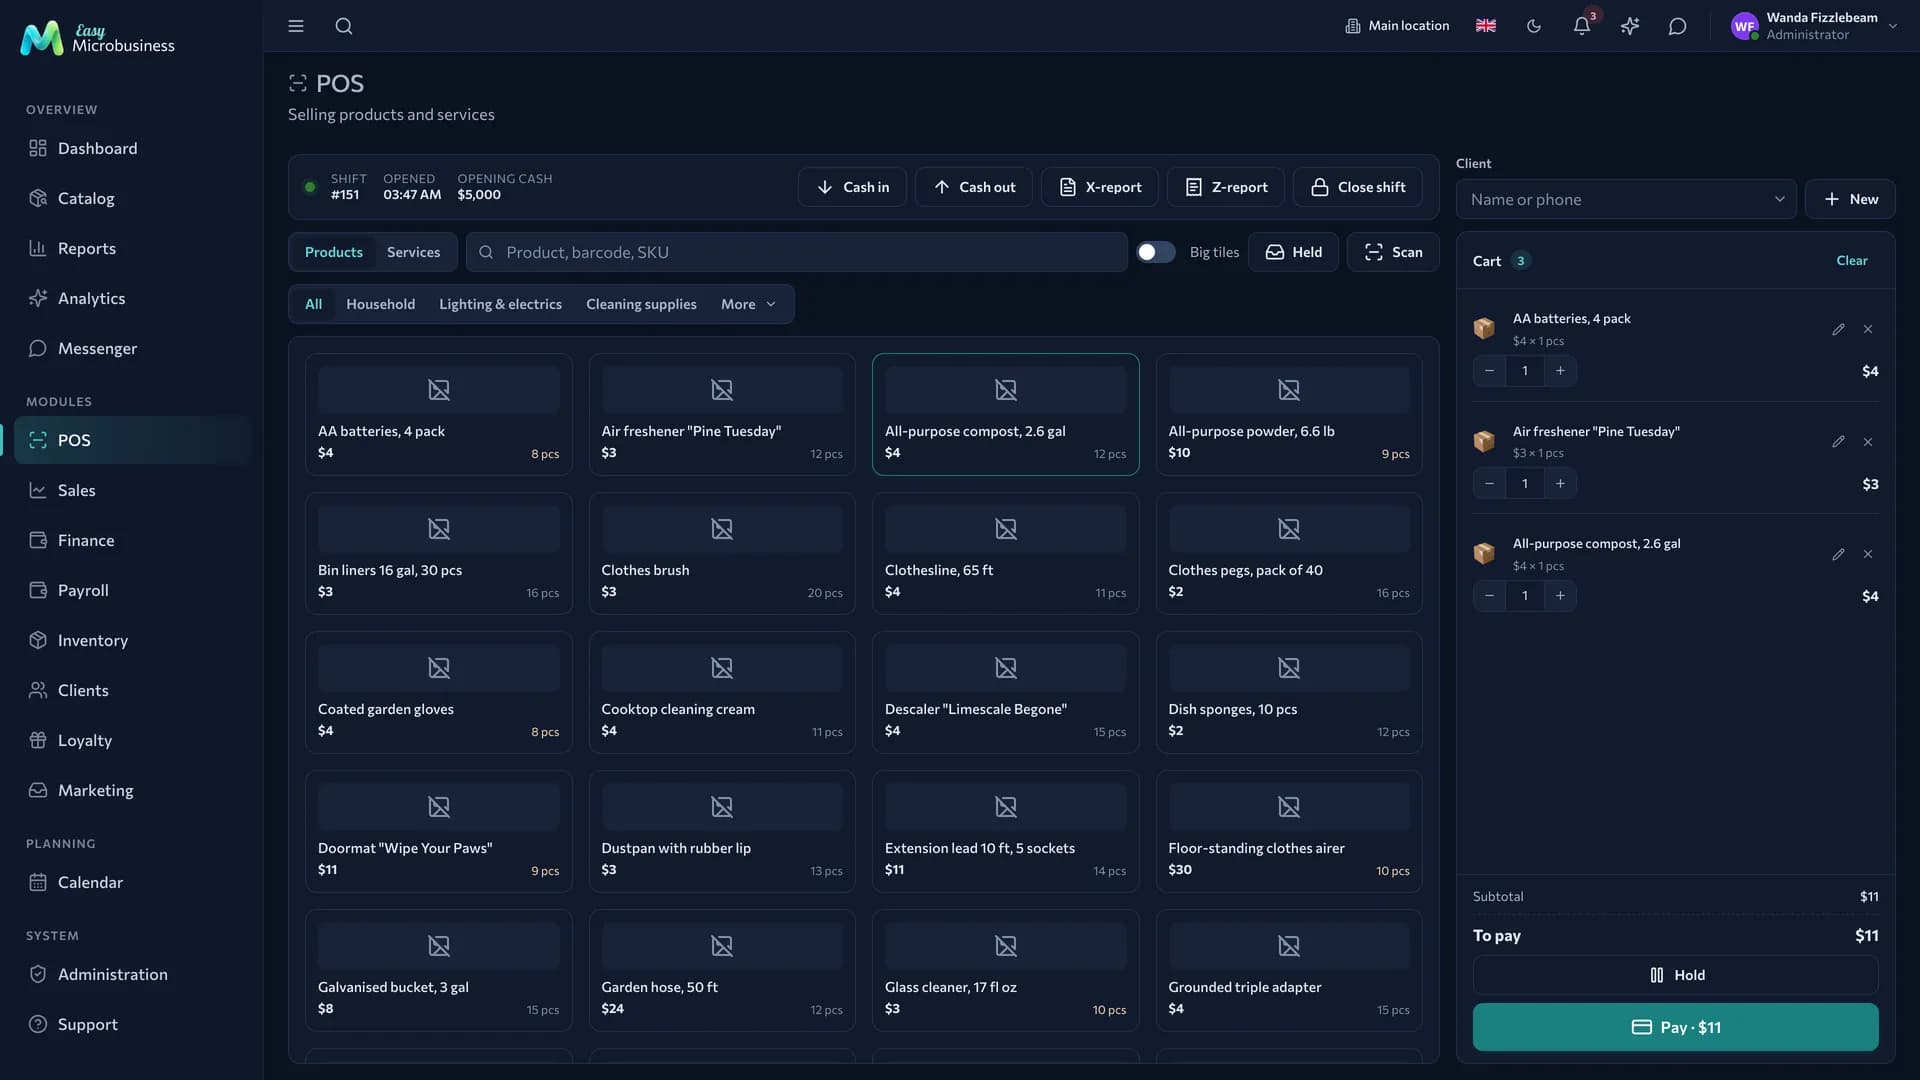
Open POS. The cashier picks items on the left, the cart builds on the right, and payment is taken in cash, by card or split between them.
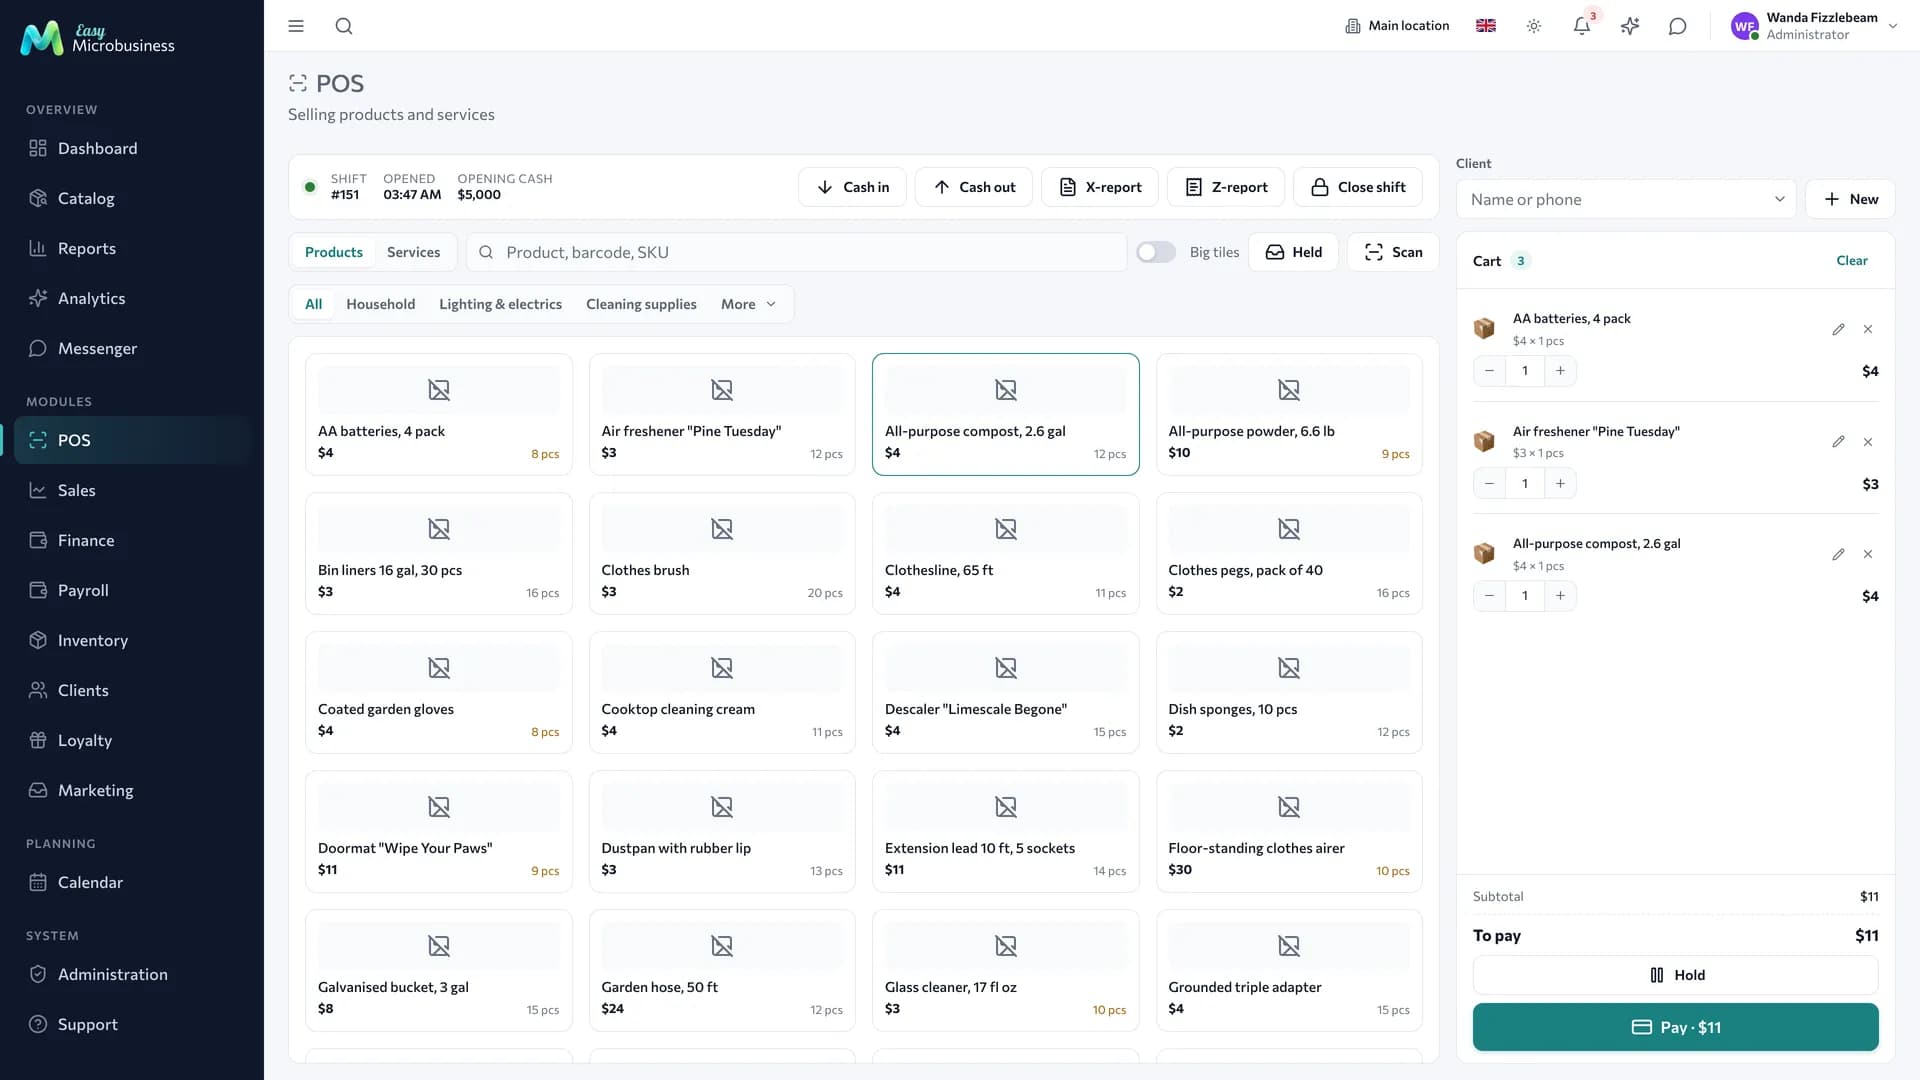
After the first receipt:
- a cash shift opens and every receipt of the day collects inside it;
- stock is written off for the products sold;
- the amount lands in revenue and in the reports for the day;
- if the sale has a customer, the visit goes into their history and earns points when loyalty is on.
More detail is in Point of sale.
Step 5. Set up what belongs to your trade
The next steps depend on the business module you connected:
- Retail store, Wholesale, Manufacturing — set up inventory: receipts, stock, suppliers. See Inventory.
- Service, Construction, Printing — adjust the deal stages to your process. See Deals.
- Beauty, Fitness, Education, Rental — set up resources and the schedule. See Scheduling.
- Online store — fill the storefront and delivery zones. See Online storefront.
- Restaurant — add tables and print QR codes. See Restaurant floor and kitchen.
First-day checklist
- Branches added, their names match the real locations.
- The catalog has categories and 20–30 fast-moving items.
- Employees invited, roles assigned.
- The first receipt is rung up and visible in Sales.
- The daily report shows that sale.
In short
- Start with branches: stock, shifts and schedules hang off them.
- Fill the catalog in the order "categories → services → products → variants".
- The role sets the range of sections; per-person permissions handle the exceptions.
- The first receipt opens a shift, writes off stock and lands in the reports.