
Print templates
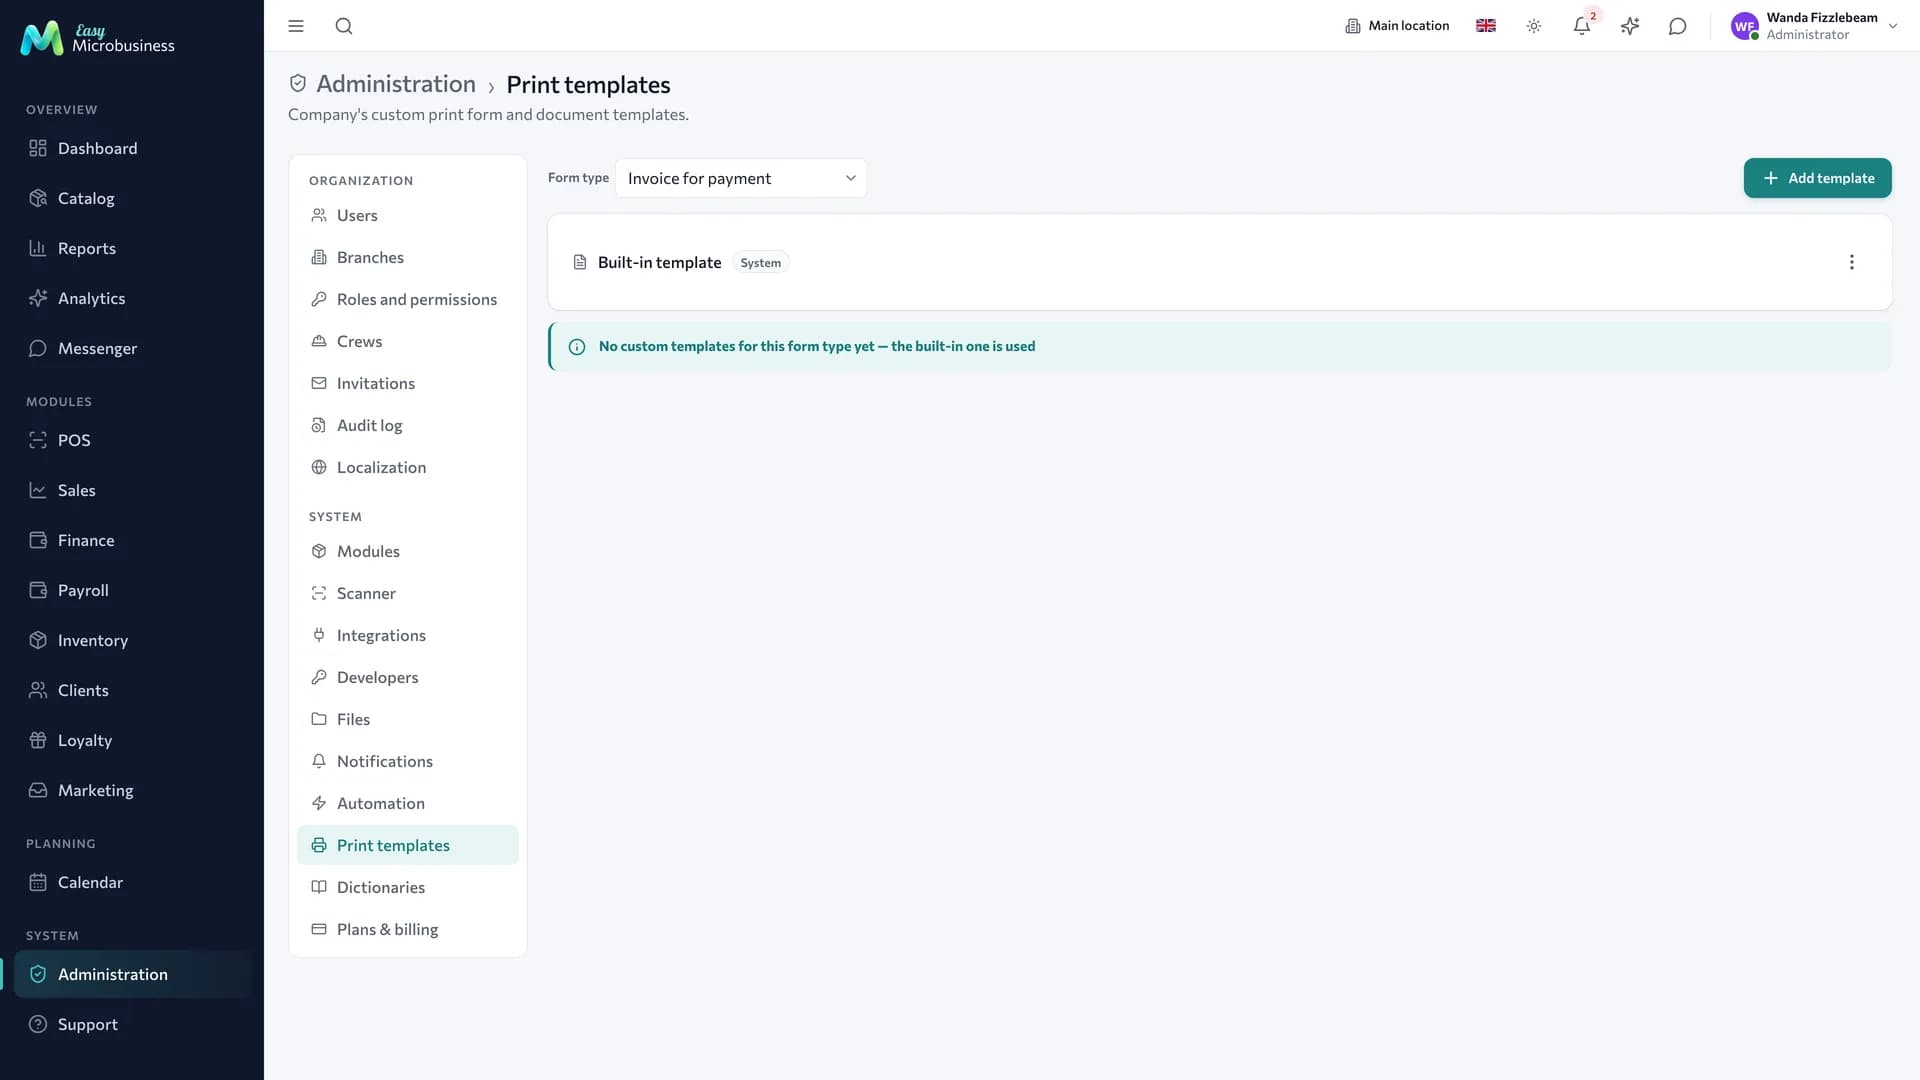
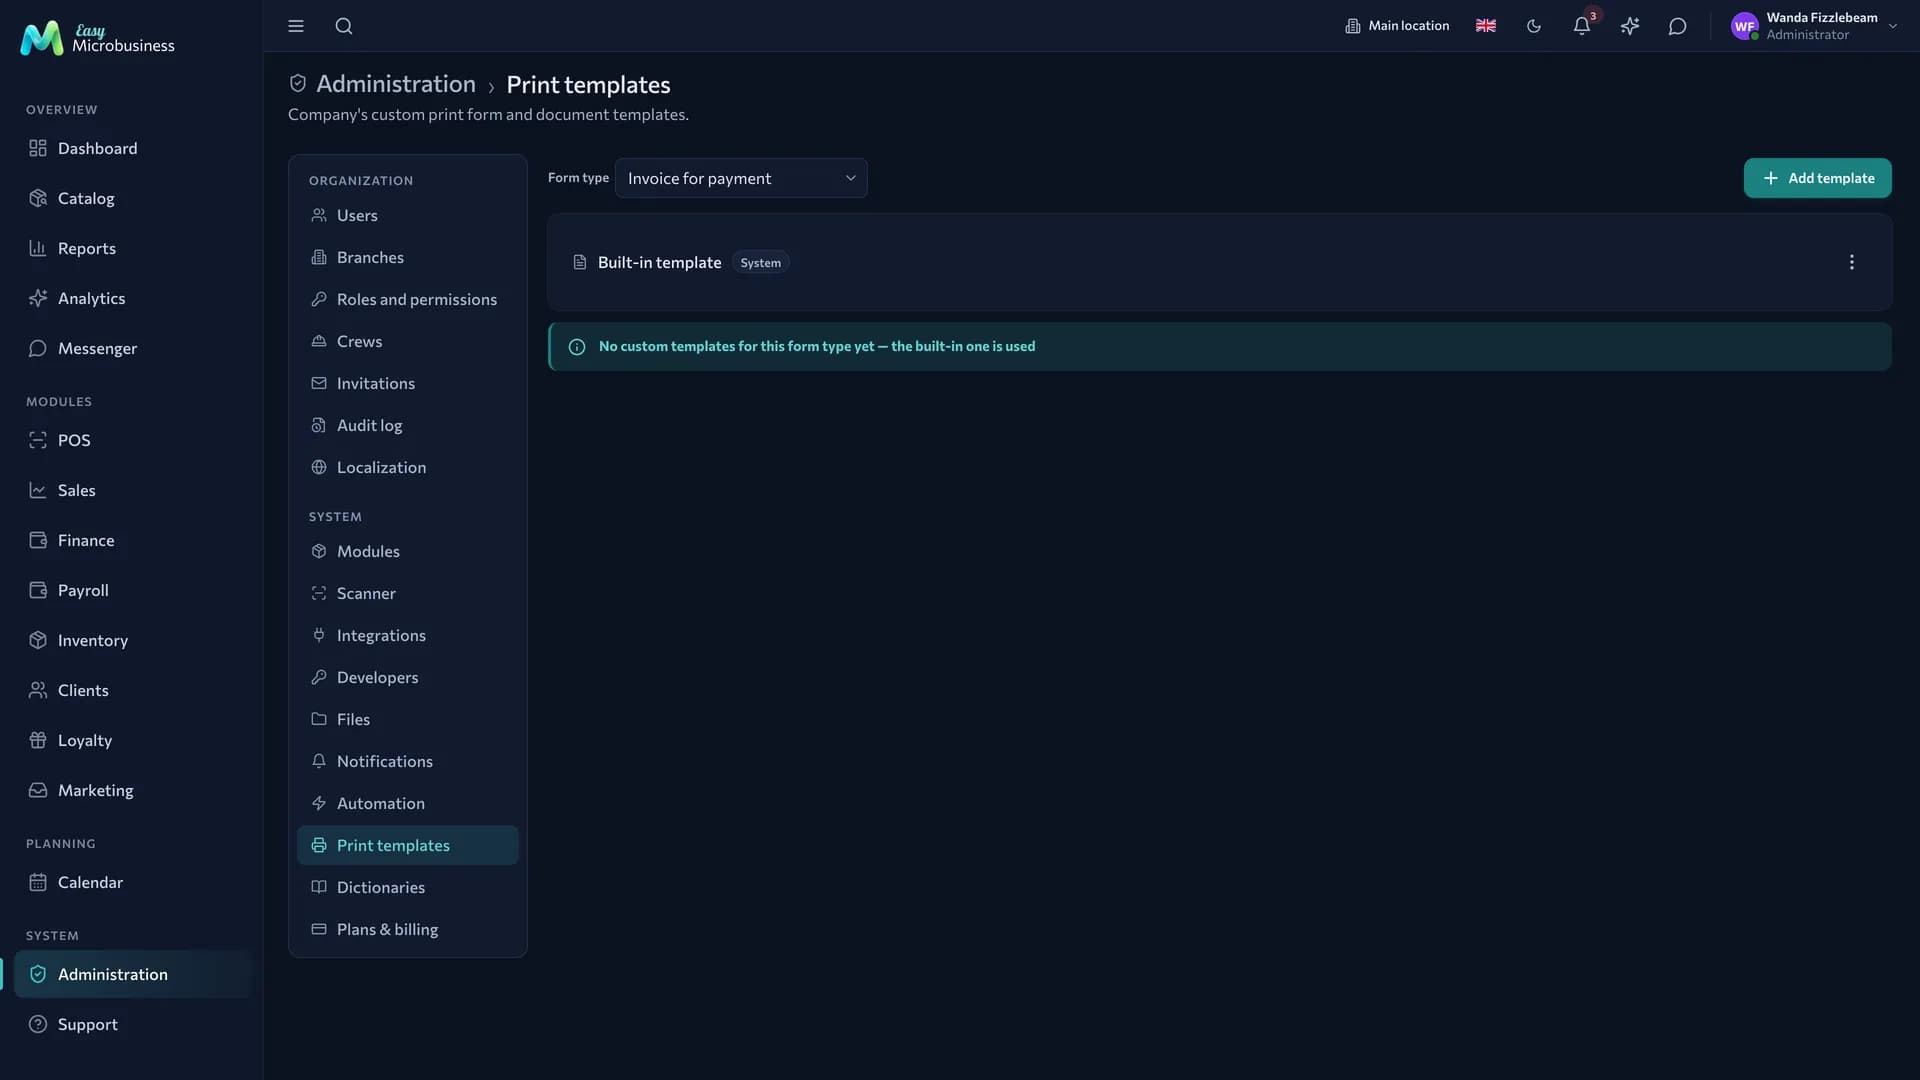
Everything you hand a customer on paper or in PDF is built from templates: an intake receipt, a work order, an act, an estimate, a delivery note, a contract, a sales receipt, a product label. The section opens from Administration → Print templates.
Where templates come from
Every document type has a built-in template: it works right away and needs no setup.
Some modules add their own forms:
| Module | What it brings |
|---|---|
| Service and repair | Work order |
| Rental | Handover act |
| Wholesale and distribution | Invoice, delivery note, reconciliation act, customer price list |
| Studio | Delivery act, contract |
| Printing and advertising | Production order, order calculation |
| Field services | Field job sheet with address, time and scope of work |
An industry form becomes the main one for its document type if you have not chosen a main one yet. Your own choice is kept.
How to adjust a template
- Find the document type in the list.
- Press Duplicate on the built-in template — the original stays as it is. A dedicated editor page opens with its own link: you can leave it open, go back and pick up where you left off.
- Edit the copy right on the sheet. Fine layout is easier in Code mode.
- Flip the toggle to With data — the same sheet shows the form filled with demo values.
- Set the name, format and margins in the panel on the right.
- Press Save, go back to the list and press Make main — this template will be used for printing.
- Print a test document on a real record before handing it to a customer.
A template from scratch is created with Add template for the selected document type.
The built-in template stays unchanged. If something goes wrong in your copy, you can always come back to it.
While changes are unsaved, you cannot simply leave the page — the system asks first.
How the editor works
The editor shows the real sheet: the same margins, fonts and tables that go to paper. What you see is what gets printed.
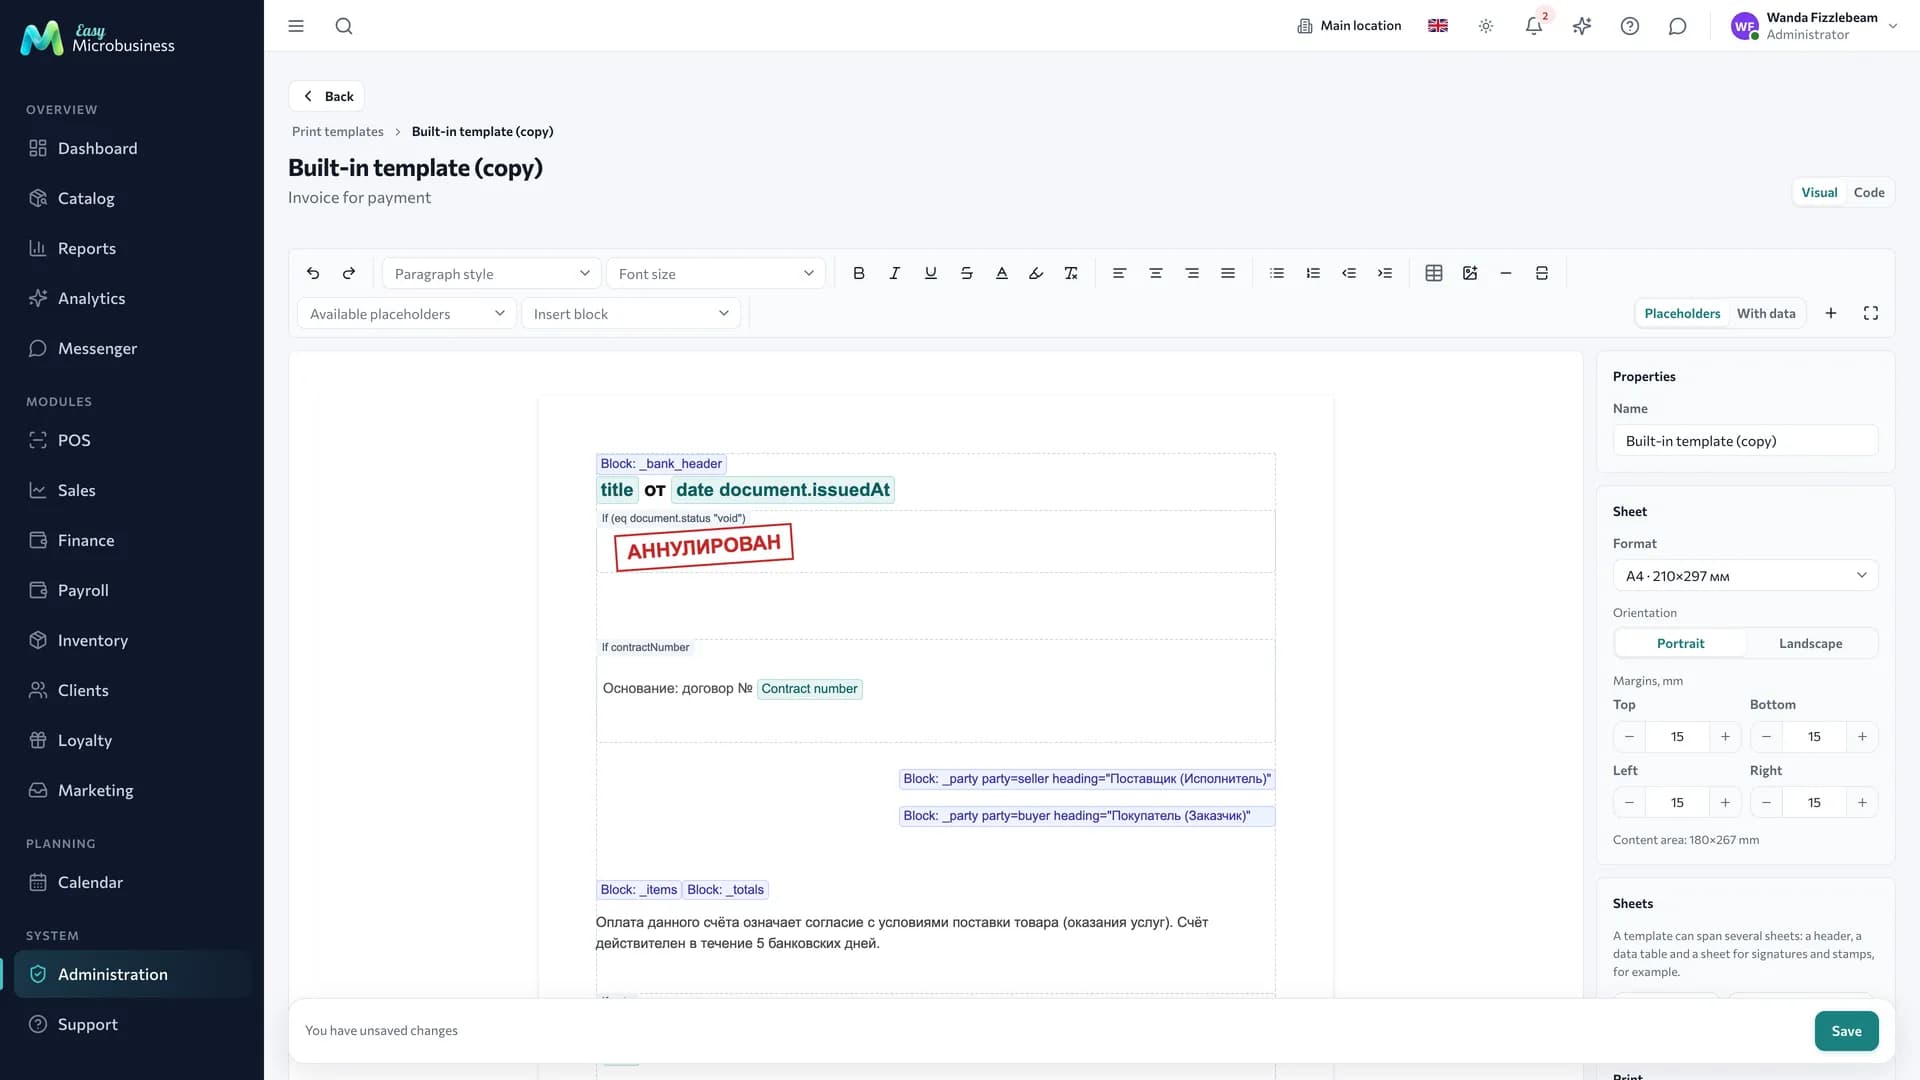
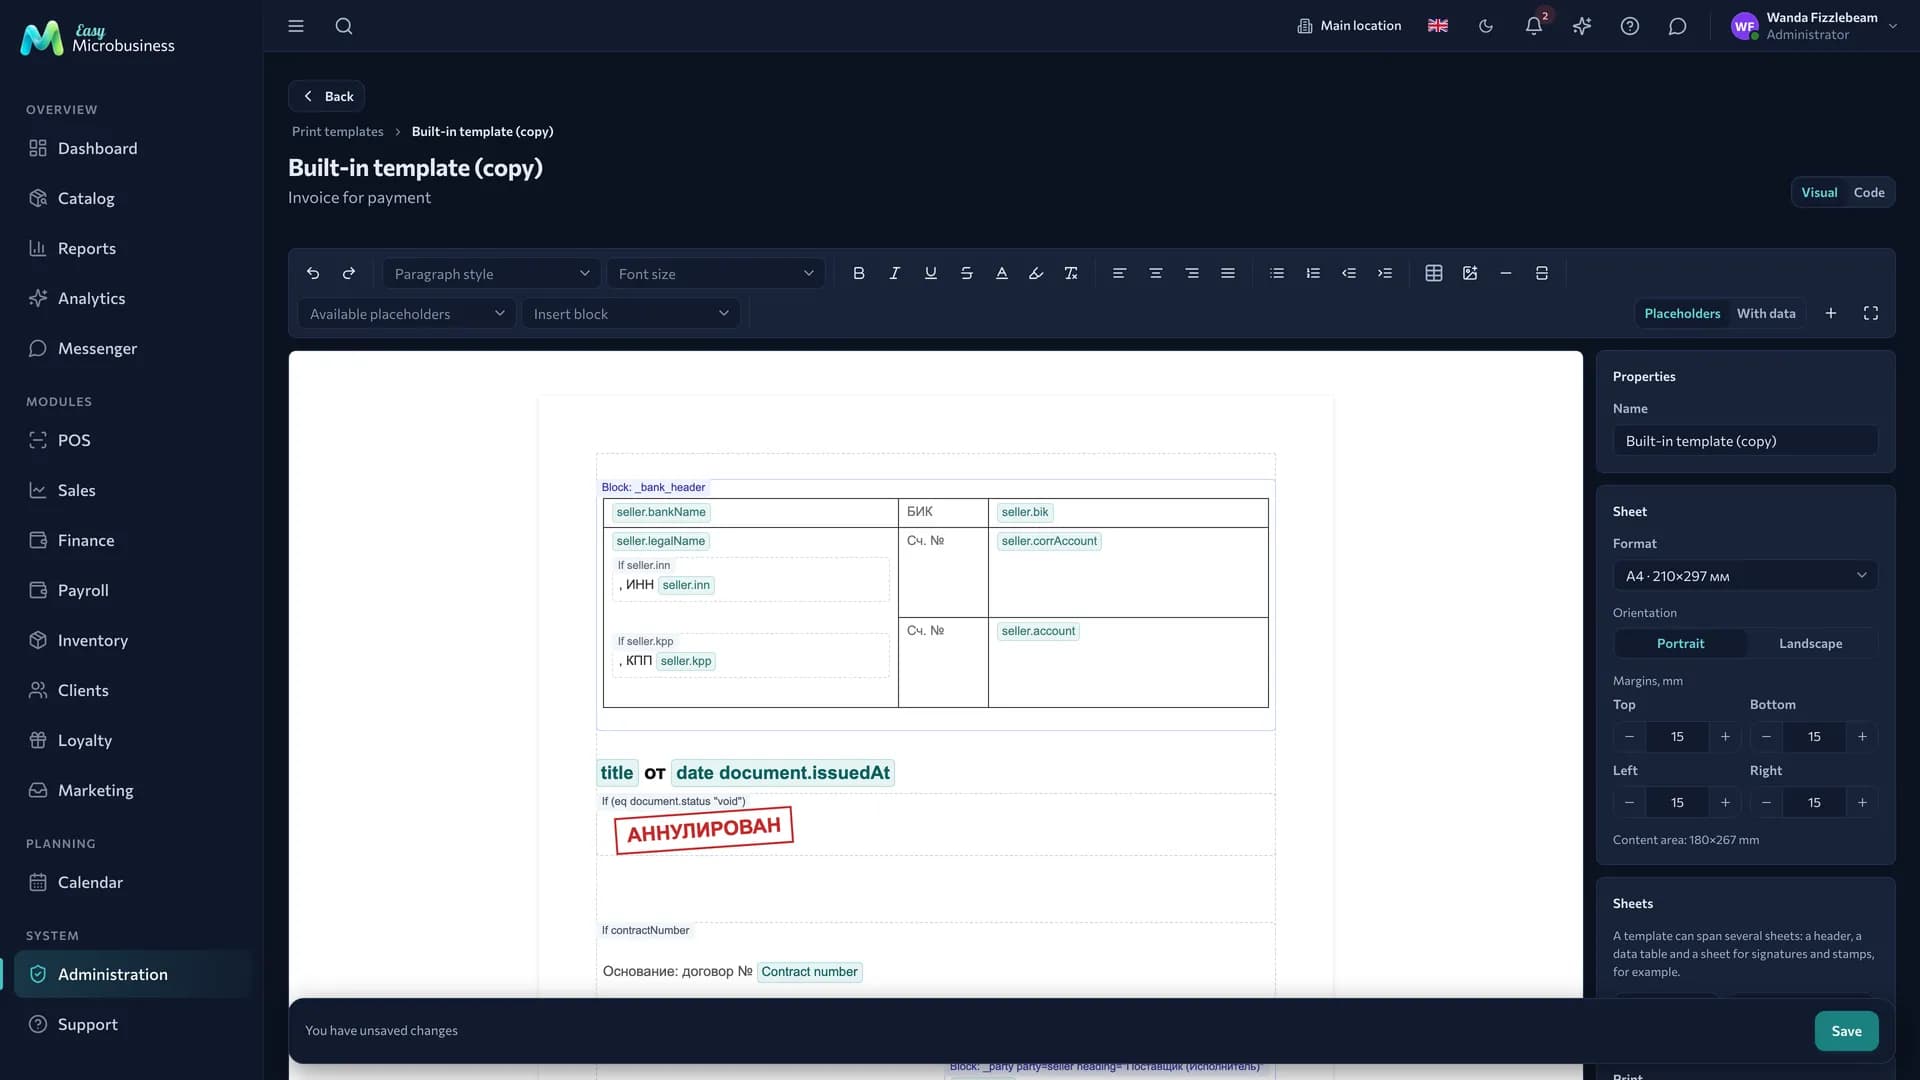
The formatting ribbon sits on top, like in a word processor: undo and redo, paragraph style and font size, weight and style, text and highlight colour, alignment, lists and indents, tables, images, a rule and a page break. Two separate lists insert a placeholder and a ready block (bank header, items table, totals, signatures).
On the right is the properties panel: template name, sheet setup and sheet management.
Two switches:
- Document / Code in the page header. Code is rarely needed — mostly to adjust loops and conditions;
Ctrl+Spacegives autocomplete there. - Placeholders / With data above the sheet. In the first mode the sheet is editable and substitutions show as coloured marks. In the second the same sheet is filled with demo values — editing is off, but you see how the form falls across pages.
Placeholders are inserted from the list in the ribbon: document number and date, seller and buyer, items, subtotal, discount, total, amount in words, VAT, company details. They are filled in at print time.
On a wide screen the editor goes full screen with the button at the right end of the ribbon — the sidebar and app header disappear, only the sheet stays. Press Esc or the same button to leave.
Data the system does not have is printed as a blank line
______. The form stays usable for filling in by hand.
A customer signature taken on the master's phone is inserted as an image with the line "Work accepted by … · date". The field service act also carries photos of the site: up to three shots "before" and "after". How that is done on site is in Field services.
How to edit blocks
A document is built from blocks: the bank header, the parties, the items table, the totals, the signatures. On the sheet each block sits in a labelled frame, so you can see where it starts, where it ends and what is inside it.
Click the block label — it gets selected and buttons appear above it:
- Move up and Move down — swap the block with its neighbour;
- Duplicate — to print two tables in a row, for example;
- Delete;
- Break apart — turn a ready block into ordinary markup.
While the block is a ready one, its content is shown but not editable: it comes from the engine and is the same in every form. Break apart makes it yours: the same table stays on the sheet, but now you can rename a column, drop a spare one, change widths and order. There is no way back — if you do not like the result, leave the page without saving.
Repeats and conditions are framed too: "Repeats for every line" means the content prints as many times as there are rows in the document, and "If …" means it appears only when the condition holds. Text inside such frames is edited as usual.
On the "Party details" block Break apart is sometimes unavailable — that means its settings are given by an expression that cannot be substituted unambiguously. Edit such a block in Code mode.
Logos, stamps and signatures
The Image button in the ribbon puts a picture on the sheet. There are two sources: upload a file from your computer, or take one from company files — whatever is already in the Files section.
PNG, JPEG, WebP and SVG all work. For a stamp or a logo prefer PNG or SVG: they can have a transparent background, so the picture sits over the text without a white box around it.
The picture is anchored to the sheet and does not drift with the text: its place stays put even if the items table grows by ten rows. Drag it with the mouse and resize it by the corners — hold Shift to keep the proportions. The same values can be typed in the panel on the right: offset from the left and from the top, width and height in millimetres.
Measurements start at the sheet content area — the dashed margin frame. Printers do not print beyond the margins anyway, so there is no point putting anything there.
The panel on the right also sets two more things:
- Layer — "over the text" for a stamp and a signature, "behind the text" for a letterhead background or a watermark;
- Opacity — to mute a background so the text over it stays readable.
Pictures live inside the template itself, so large shots are scaled down when inserted. Scan a stamp at roughly its real size: it prints sharp and the template stays light.
Several pages in one form
A template does not have to be a single page. A typical set is a header with company details on page one, a data table on page two and room for signatures and stamps on page three.
Add sheet in the panel on the right adds a page, Delete last sheet removes one. Every sheet starts on a new printed page.
Individual breaks inside a sheet are added with Page break in the ribbon: everything below moves to the next page.
If the items table does not fit, it carries over to the next page on its own — with the table header repeated.
Sheet format and orientation
The panel on the right sets:
- format — A3, A4, A5, A6, Letter, Legal or a custom size in millimetres (for labels and tape);
- orientation — portrait or landscape;
- margins — top, bottom, left and right, in millimetres.
The sheet on screen takes the given proportions right away, and the content area size is shown below the settings — how much room is actually left for the text.
The same values go to browser printing and to the server-side PDF, so the file comes out in exactly the format you saw in the editor. That matters most for labels: a 58×40 mm tape prints at its own size instead of an A4 page.
How to print
Open the document card — a deal, an order, a sale or a booking — pick the form and press print. From there it goes to a printer or to a PDF you can send in a messenger.
Some forms are issued elsewhere:
- the delivery note — from a posted shipment, so it only lists what actually left;
- the reconciliation act and the customer price list — from the customer card, because they belong to the customer rather than to one document.
Receipts and labels support small formats — for example a label with a status QR code for an item taken in for repair.
QR codes in documents
An intake receipt can carry a QR code with the public status link. The customer scans it and sees the stage their repair or order is at, which noticeably cuts down "how is my order going" calls.
What documents exist
| Document | Printed from | When it is needed |
|---|---|---|
| Intake receipt | Intake deal | The customer left an item for repair |
| Work order | Deal | The list of works and parts |
| Estimate | Deal | Agreeing the scope and the amount before work |
| Contract | Deal | Obligations of the parties, payment order by stages |
| Act of completed work | Deal | Closing the work; on a field job with photos and a signature |
| Invoice | Order | Bank payment by a business customer |
| Delivery note | Posted shipment | Handover of goods by fact |
| Reconciliation act | Customer card | Turnover and balance for a period |
| Customer price list | Customer card | Prices with volume tiers and discount |
| Sales receipt | Sale | Proof of purchase |
| Label and tag | Product, item | Marking with a QR or a barcode |
| Payslip | Payroll | What made up the employee's amount |
Practice
- Put your legal details straight into the template — there is no separate screen for company legal data yet, see Company and branches.
- Print a test document after every template change.
- Do not overload the form — the customer needs the item, the amount, the deadline and your contacts.
In short
- Every document type has a built-in template that works right away.
- Your own version is made by duplicating the built-in one and marking it as main.
- Missing data is printed as a line to fill in by hand.
- The delivery note is issued from a shipment; the reconciliation act and the price list from the customer card.
Related sections
- Company and branches — branches, localization, reference books.
- Deals — receipts and work orders.
- Orders — delivery notes and picking lists.